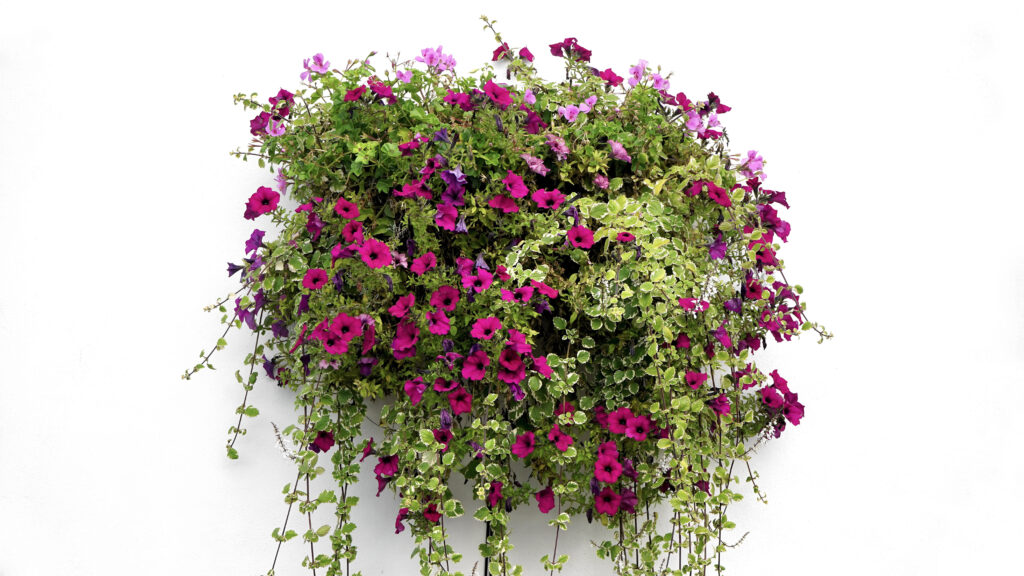
What’s The Secret To Making The Best Hanging Baskets?

Amateur’s Answer Hanging Basket Liners

The Amateur’s Answer Hanging Basket Liner

Where it all began…

John Nesbitt created the Amateur’s Answer Hanging Basket Liner over 20 years ago. John had owned a garden nursery in North Yorkshire since the early 1990s and had a business growing thousands of hanging baskets every year for local homeowners and small businesses in the area.

The problem with traditional hanging basket liners.

John realised that whilst coco and moss hanging basket liners looked nice – they were impractical, messy and often attracted birds. He wanted to find something that would address these problems.

A new type of hanging basket liner.

After much trial and error John sourced a special lining material and developed his own technique for making hanging baskets. After using this liner at his nursery for many years John launched the Amateur’s Answer Hanging Basket Lining System and started selling the product at garden shows and online.

How does the Amateur’s Answer Hanging Basket Liner work?

John provided a range of demonstration videos which showed exactly how to plant a hanging basket using his special liner.

Benefits of use

Why Use The Amateur’s Answer Hanging Basket Liner?

From our years of experience making thousands of baskets at our North Yorkshire Nursery. We created our own liner to give us the benefit of ease of use, accommodating more compost, looking great and being re-usable.

Easy to use

No moss means no mess. These liners are quick and easy to use for any gardener.

Re-useable

Our hanging basket liners are cost effective and can be re-used each year if required.

More nutrients

Our super slim liners take up less space in the basket allowing more room for compost in each basket.

Looks great

Subtle appearance easily blends in with hanging baskets to compliment the display.

Testimonials

Hear it from our satisfied clients

Very helpful and good friendly service, the liners have brought life back to my tired looking plants.

FAQ

Your questions, answered.

To obtain the best results from your liners, please follow these instructions.

  • Using a large plant pot or small bucket (depending on the size of your basket). Place the plant pot on your working surface and, having removed the chains, place your empty basket, level, on the top.
  • Place one of the liners over your basket, ensuring the overhang is equal all round.
  • Using an old margarine tub or a piece of old polythene about 40cm. dia. Place this in the bottom of your basket to create a reservoir.
  • Fill to half way with good quality potting compost and check that the overhang is still equal at the rim. Adjust if necessary. Now mix in, slow release fertilizer (about 50gm) to the compost in the basket, then fill to the brim.
  • Pull gently on the liner to spread out any overlaps in the material. Doing this gives a neater appearance underneath, as you will see soon.
  • Take one of the rubber bands. Pushing the loose edge of the liner down, place the rubber band just over the edge of the rim, gripping the liner on the outside of the basket. Working in opposite directions, fit the band full circle, under the rim.
  • Using a sharp pair of scissors, trim the liner to about 7cm (2.75ins) around the perimeter of the basket.
  • On wrought iron baskets with a deep top rim, allow 75mm (3”) overlap when trimming the liner.
  • On Plantpac-Cookson plastic round rimmed baskets, the elastic band method is not required. Trim as shown on worksheet, carry out all planting and finally trim again close to the outer edge of the top rim before watering in.
  • Now return to the top of your basket. With one hand, draw back the compost from the perimeter of the basket towards the centre and bring the loose edge of the liner over the rim with the other hand. (Don’t pull too tightly or you may pull the rubber band over the edge.) Holding the loose edge against the bars on the inside of the basket with one hand, replace the compost to hold it in place. Carry on around the perimeter.

Your basket is now ready to plant up 

There are many variations in hanging basket design but all can be filled using ‘The Amateur’s Answer’ lining system.

  • If you intend to use “Surfinia” petunias, only the top of the basket needs to be planted. These plants are so vigorous that they quickly blank out light to anything planted in the sides. Three “Surfinias” evenly spaced will give a terrific display.
  •  A Fuchsia, Geranium or non-stop Begonia for a centre piece would add to the display by giving some height. Other plants such as Bacopa, Brachycome, Diascia, Sanvitalia etc. could also be added to increase the effect and personalise your basket.
  • To be a little more adventurous and create a ‘Busy Lizzy Ball’ you will need to put plants in the side of your basket. It may be helpful to plan your planting before starting.
  • For the ‘Busy Lizzy’ ball you will need to plant 6 plants at two different levels in the side. Start by deciding on the starting point, a wide opening in the bars, low down. Place a marker (a coin perhaps) on the compost, directly above it. Then, looking at the top of the basket as a clock face, and the first marker as half past the hour, place another two markers at the ten to and ten past positions. Place a further three markers equally spaced between the first three and your marking off is complete.

Returning to the side again. With a pair of sharp scissors, make a slot about 4cm. long directly below your first marker and about one third of the way up. Using two fingers, make a cavity in the compost through the slot. Then, using plug or small cell grown plants, push one of the plants through the slot into the cavity. At the same time, from above, firm the compost onto the root ball with your other hand.

Repeat this procedure until all six plants at the lower level are in. Moving further up the side (about one third of the way down), plant another six plants, equally spaced between the lower ones, firming the compost onto the root balls as you go. The side planting is now complete.

Moving now to the top of the basket, insert a plant at each of the points originally marked with coins, (about 25mms/1”)   which should be, again, equally spaced between the top row of side plants. When these are firmed in, place one plant in the centre. Then another four, equally spaced between the centre piece and those around the perimeter.

  • Your basket is now complete. To get your basket off to a good start, water it well and using the same plant pot/bucket, stand it at floor level in a frost free place (preferably a heated glasshouse) for a week or two, before hanging out. Try to water your basket at least once a day. On hot windy days it may be necessary to water more than once.
  • You cannot over-water your basket when using “The Amateurs Answer” as excess water will seep through it. Standing water would stagnate and poison your plants if your basket did not drain freely.

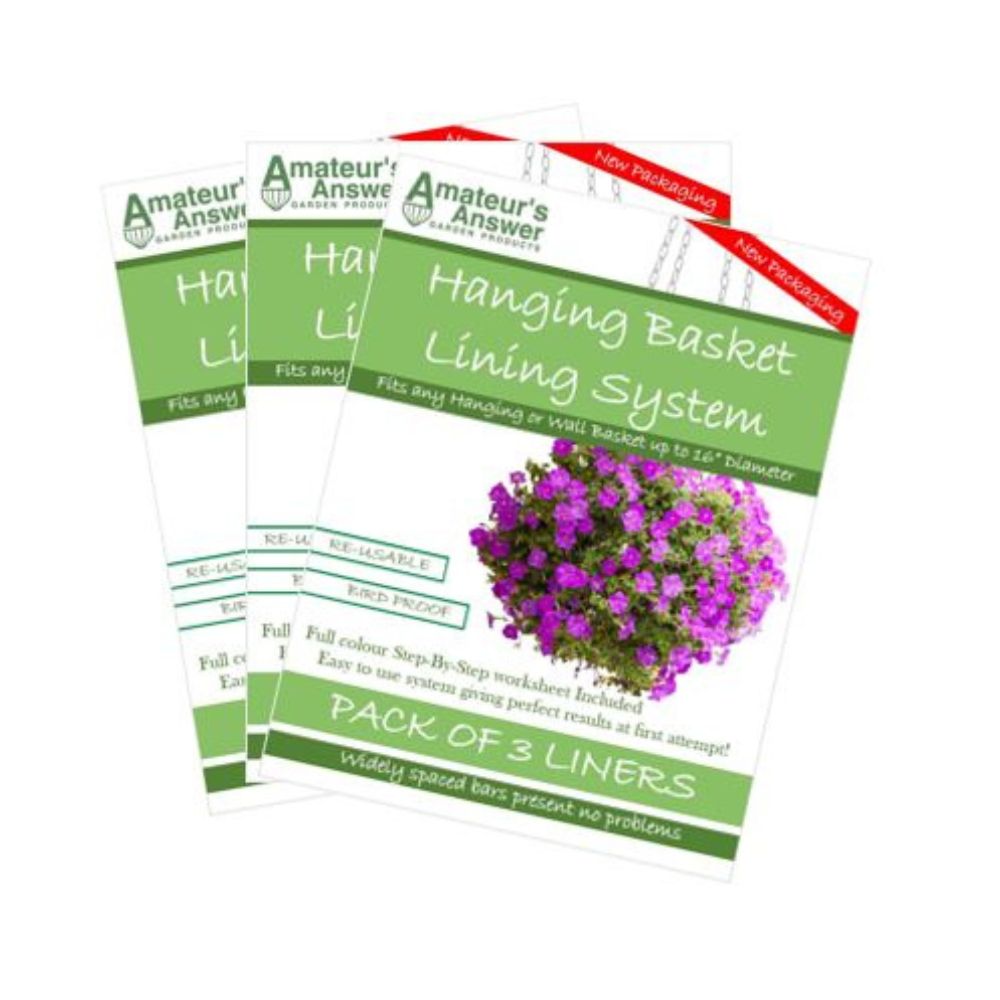
Our Amateurs Answer Hanging Basket Lining system (pack of 3) fits baskets up to 16” in diameter.

We recommend using gardening twine instead of the elastic bands supplied if you have a large 16” basket.

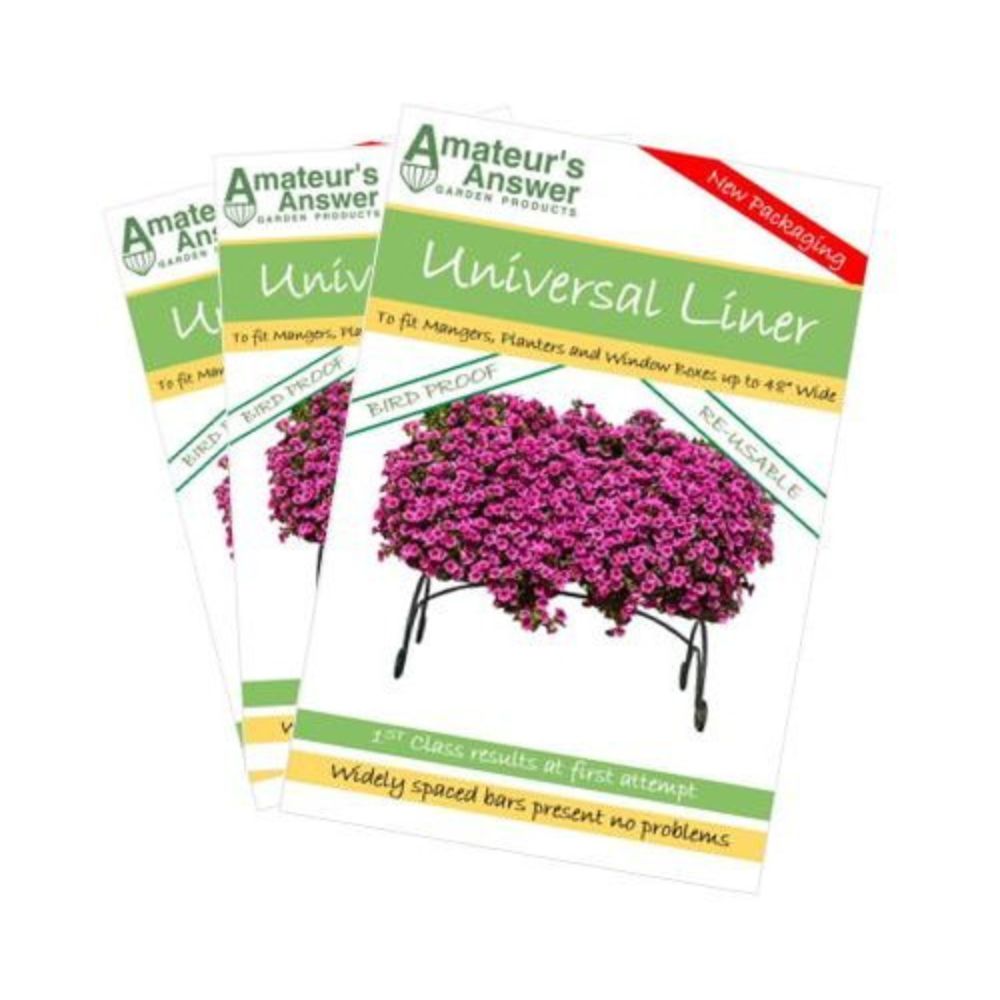
Our Amateurs Answer Universal Trough and Planter Liners fits troughs measuring up to 48 inches (122 cm).

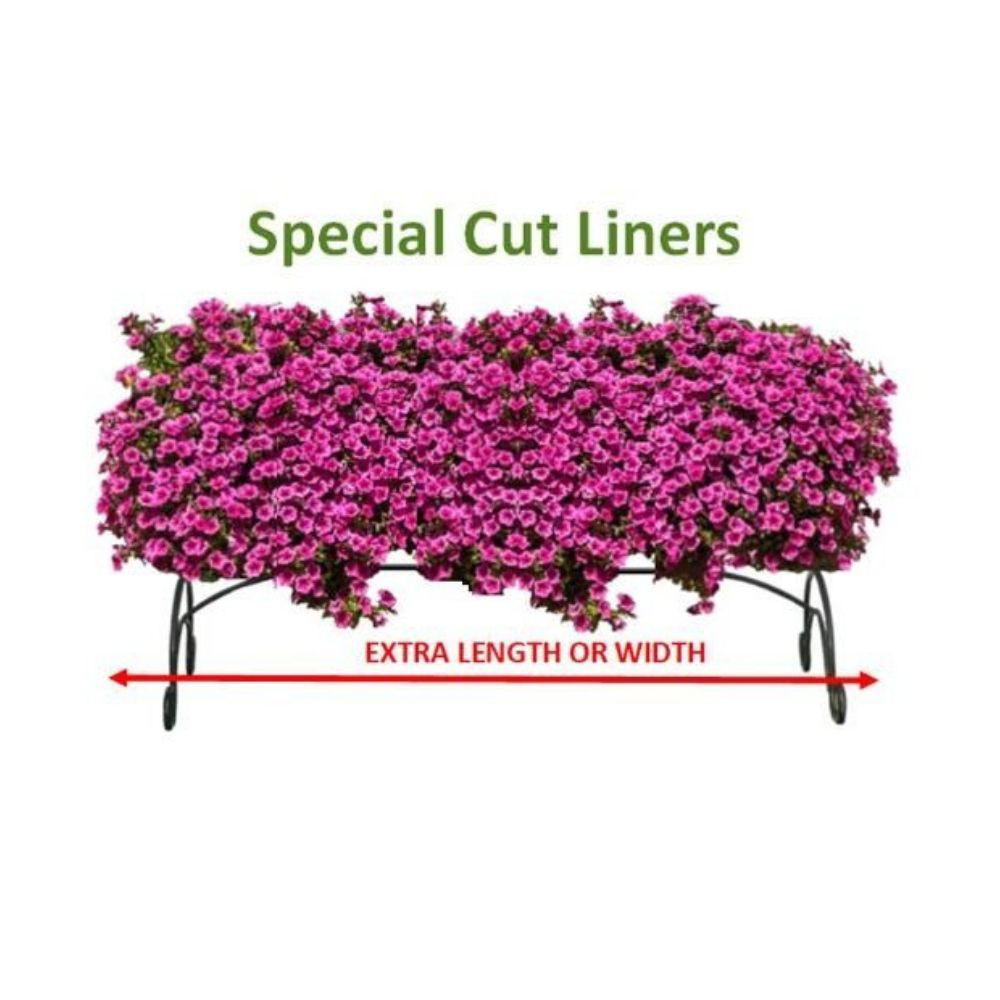
For any baskets that exceed these sizes we do make a ‘Special Liner’ to suit you requirements. Please contact us for any information.

There are so many alternative hanging basket liners on the market, to someone who hasn’t tried them all, it will seem confusing which one is the best to use.

The main differences between the Amateurs Answer basket liner and Moss or Coco liners are;

  • Cost – Amateurs Answer Liners are a lot cheaper to purchase.
  • Birds – The birds love the Moss liners and Coco liners for nesting, so tend to ruin the hanging baskets.  The birds are not remotely interested in the Amateurs Answer Liners.
  • Tidiness – Some of the Moss liners tend to look a little untidy.  The Amateurs Answer Liner gives a very neat finish to the hanging basket.
  • Re-usable – The Amateurs Answer liners can be used season after season.
  • Variation – The Amateurs Answer liners can be used to provide a number of different variation of hanging baskets.

We offer FREE Postage and Packaging to anywhere within the UK.

We can deliver our Amateurs Answer Basket Liners anywhere they are required.  

Postage charges will vary depending on destination outside of UK.  If you require postage outside of UK, please contact us for more information.

We can make a ‘Special Liner’ for any basket that exceeds the 48″ trough basket or 16″ hanging basket.

These can be purchased from our shop. Please contact us for more information.

Our aim is provide 100% customer satisfaction, so if for any reason you are not completely satisfied with our hanging basket liners, please contact us.

We will provide you with a full refund of the product, if the order was made within 30 days.

You do not have to give us any reason for the cancellation.  However, a brief explanation will help us to improve the service we offer to customers in the future.

If you do cancel you order with us, we will require you to return the goods to us (used or unused) at your own expense.

Please contact us if you require any other assistance.

Choose from our ever popular hanging basket liner, trough planter liner or extra large special cut liner

We ship our hanging baskets to customers in the UK and throughout the World